
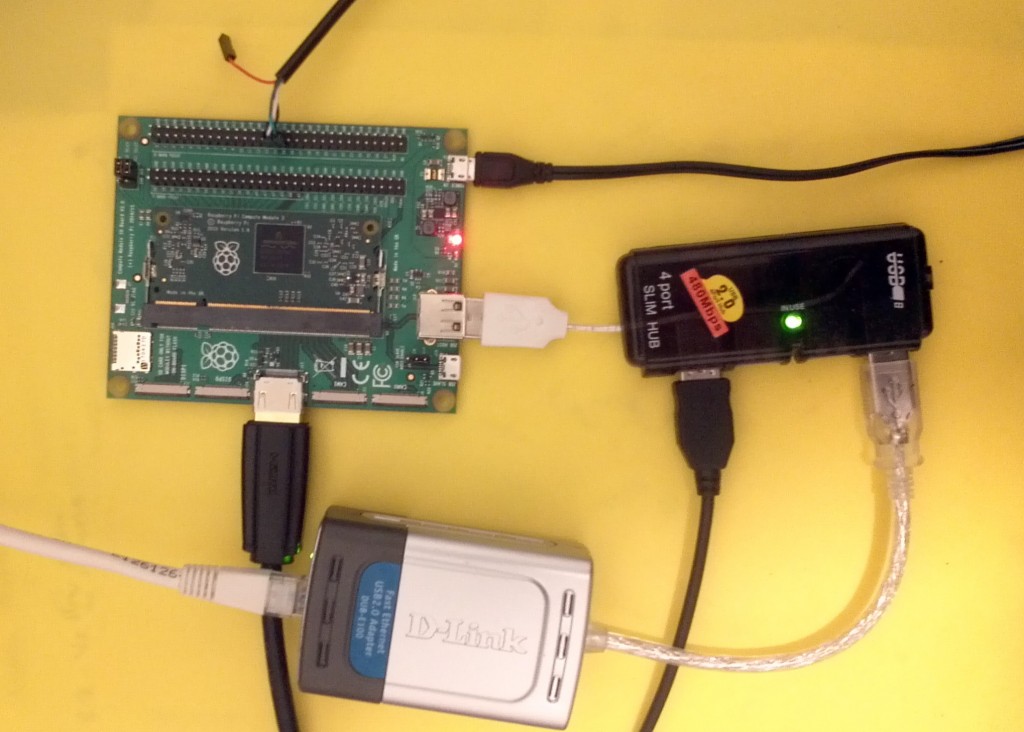
For a bit of background to this FAQ please see the introductory blog post. Here’s how our Raspberry Pi Compute Module 3 setup looks on the test bench:
Initially we purchased a CM3 development kit including version 3 of the Compute Module I/O board. Read on to discover how we subsequently managed to get everything up and running to our liking……
The first thing we did was to follow the generic instructions for loading Raspbian Stretch Lite into the eMMC flash memory on the CM3 from a Windows laptop:
https://www.raspberrypi.org/documentation/hardware/computemodule/cm-emmc-flashing.md
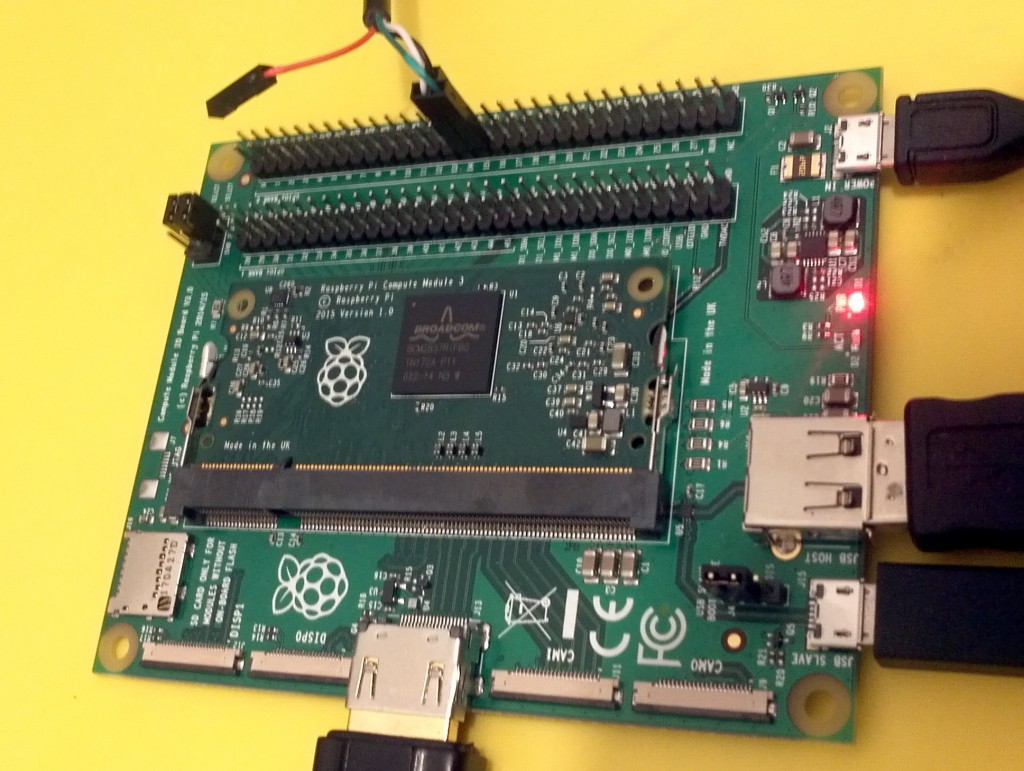
That all went smoothly enough, but then we tried to attach the USB keyboard and the D-Link DUB-E100 fast ethernet adapter you can see in the picture. Neither worked to begin with, which was when we attached the serial console you can see at the top of the picture to try and work out what was going wrong. After much tearing of hair and gnashing of teeth we realised that the CM3 can be powered via any of the 3 USB ports, not just the one labelled “POWER IN”. When we removed the 7 port powered USB hub we started off with and replaced it with the little 4 port one you see pictured everything magically burst into life!
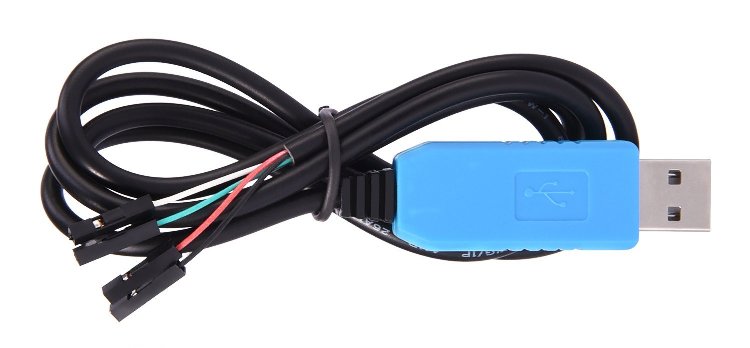
However before we got that far we decided we’d better connect up a serial console to see if we could get an insight into what was going wrong. The CM3 doesn’t include any Bluetooth support, so this cheap and cheerful Prolific chipset USB to TTL Serial Cable worked just fine.
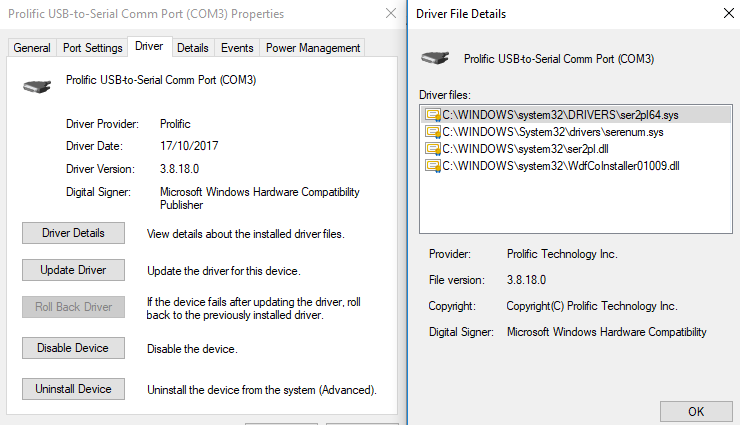
All the right drivers autoconfigured themselves under Windows 10 without a problem.
All we had to worry about was making sure we connected it to the right GPIO pins.
Red: +5V – No connection!
Black: Ground
White: RxD – GPIO 14
Green: TxD – GPIO 15
Once we’d got the serial console working it quickly became apparent that with our initial hardware configuration the appropriate USB drivers were not getting loaded. Eventually a process of elimination via trial and error revealed the root cause of our problem. Multiple sources of +5V to the CM3 I/O board! Once that issued was finally addressed the D-Link DUB-E100 USB 2.0 fast ethernet adapter that had been lying unused on our shelf for years suddenly provided us with working wired ethernet access to the compute module.
The next thing on our “ToDo” list was to install our desired distribution of Java. Any number of FAQs will explain how to install Java on a Raspberry Pi, but that’s not what we did! Instead we installed Azul Systems’ “Zulu Embedded” Java Virtual Machine following the instructions on the Azul web site:
sudo su
apt-get install dirmngr
apt-key adv –keyserver http://repos.azulsystems.com/RPM-GPG-KEY-azulsystems
echo ‘deb http://repos.azulsystems.com/debian stable main’ > /etc/apt/sources.list.d/zulu.list
apt-get update
apt-get install zulu-embedded-8
exit
Should you be experimenting with multiple JVMs don’t forget to switch back to Zulu when you’re following along with our OCPP 1.6 adventures:
update-alternatives –config java